How to Email Payslips to 50 Employees in 5 Minutes (Without Going Crazy)
It’s that time of the month again. Payday! Everyone loves receiving their payslip, but for the person who has to send them? It can be a hassle.
Imagine this: You have a folder on your desktop with 50 PDF files—one for each employee. You have to open your email, compose a new message, type "Hi Alex...", attach Payslip_Alex.pdf, double-check you didn't accidentally attach Payslip_Ben.pdf, and hit send.
Then you do it 49 more times. 😱
There has to be a better way, right? Good news: there is. And it doesn't involve uploading your sensitive staff data to some random cloud server.
Sending emails to a large group is easy, but sending a specific file to each person is tedious. Dropfill makes it simple. We’ll use "Sending Payslips" as our example today, but keep in mind—this works exactly the same way for Invoices, Client Reports, Contracts, or Event Tickets.
1. Get Your Files Ready
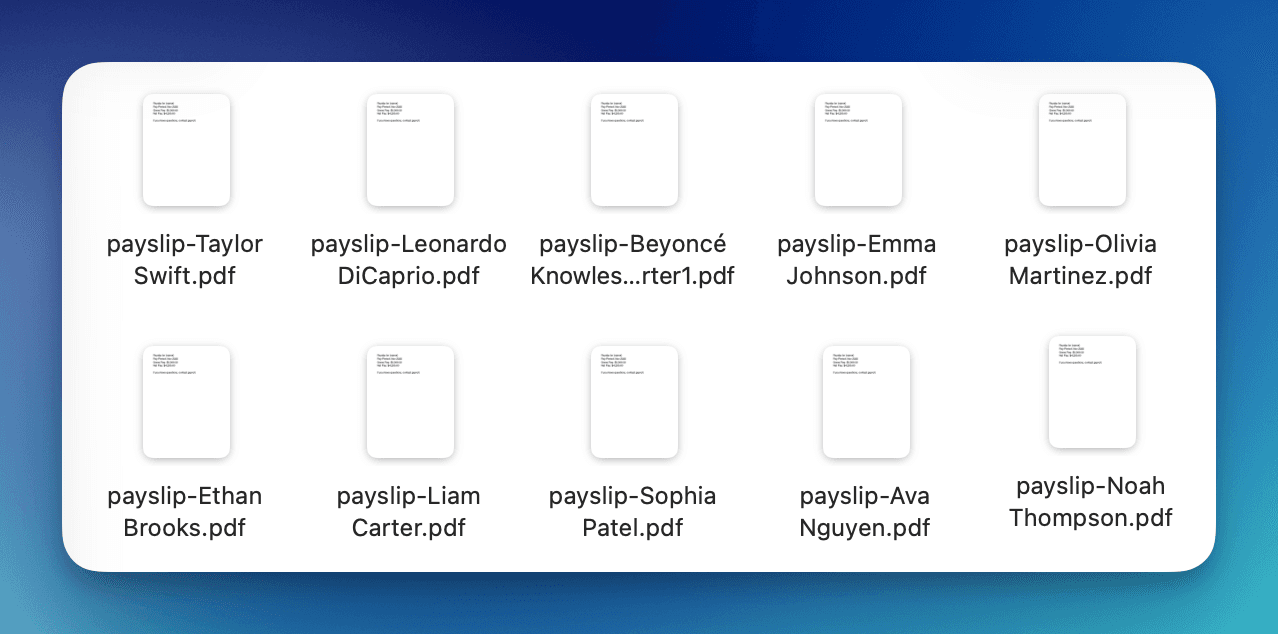
First things first. You have your files generated. Maybe they are sitting in a folder on your desktop called January Payslips.
It doesn't strictly matter what they are named, as long as there is something unique in the filename that identifies the person.
Payslip_Alex_Jan.pdfPayslip_Ben_Jan.pdfPayslip_Chloe_Jan.pdf
As long as the name "Alex" is in the file for Alex, you're good to go.
2. Open Dropfill
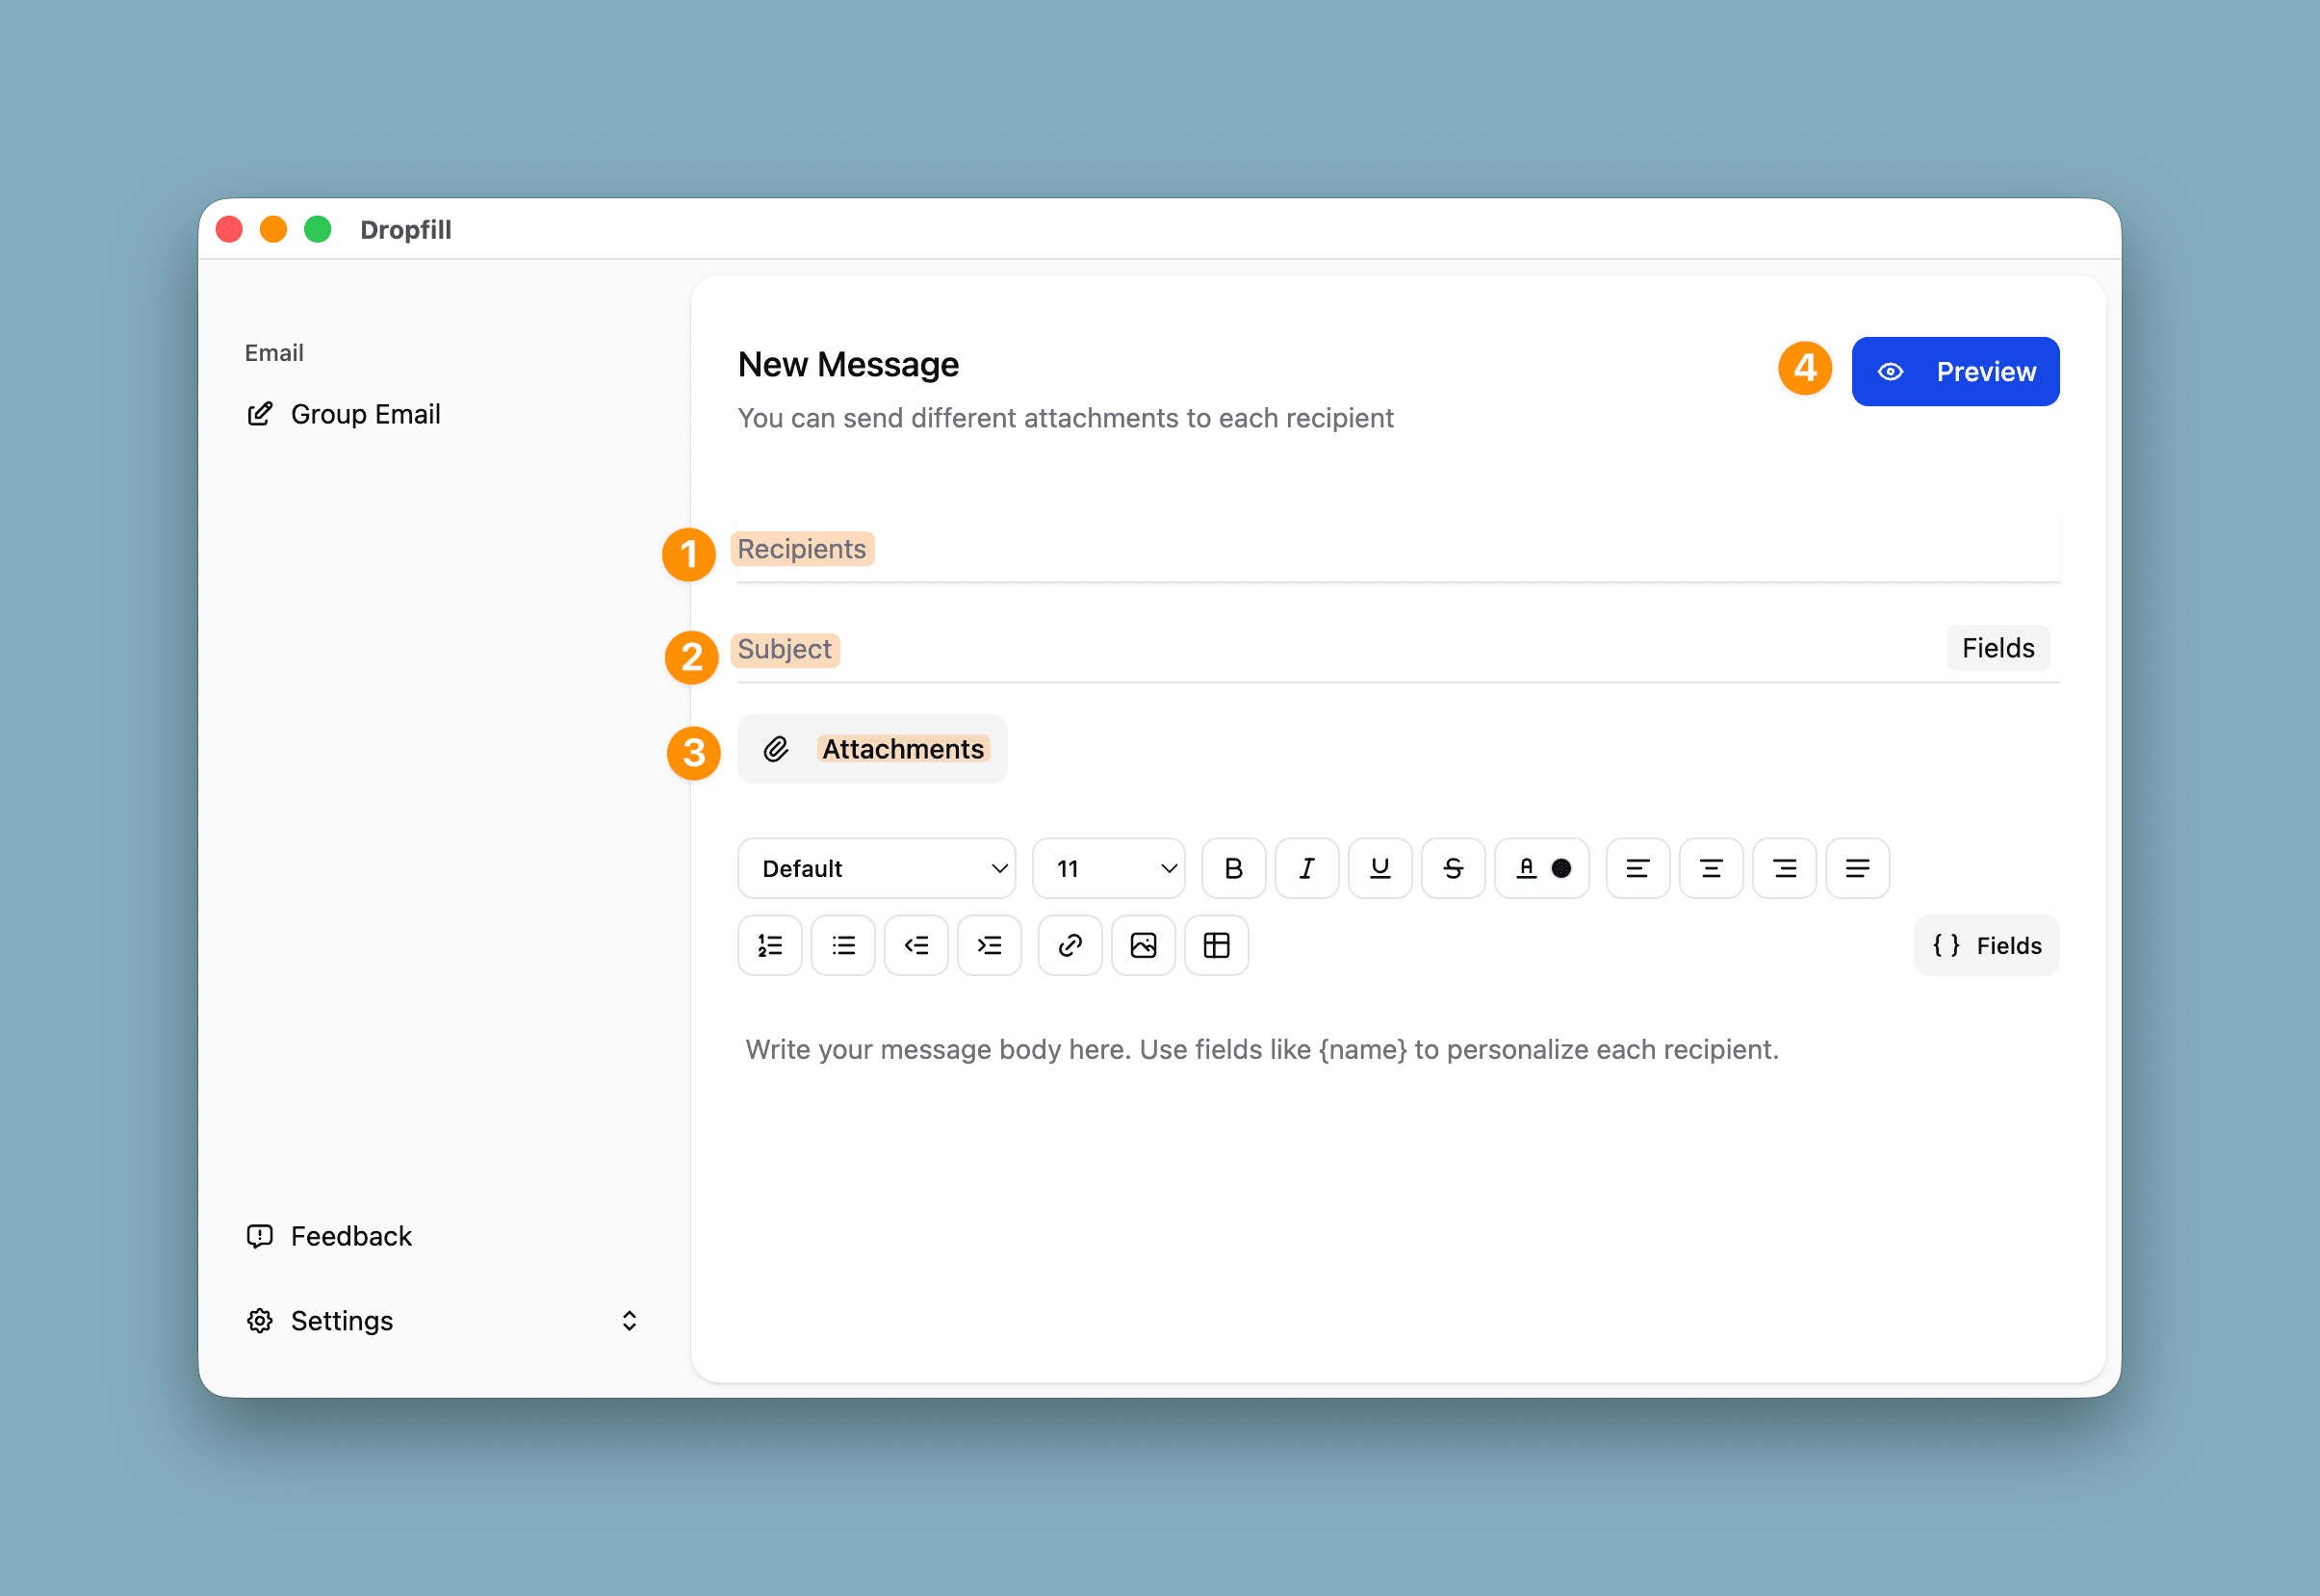
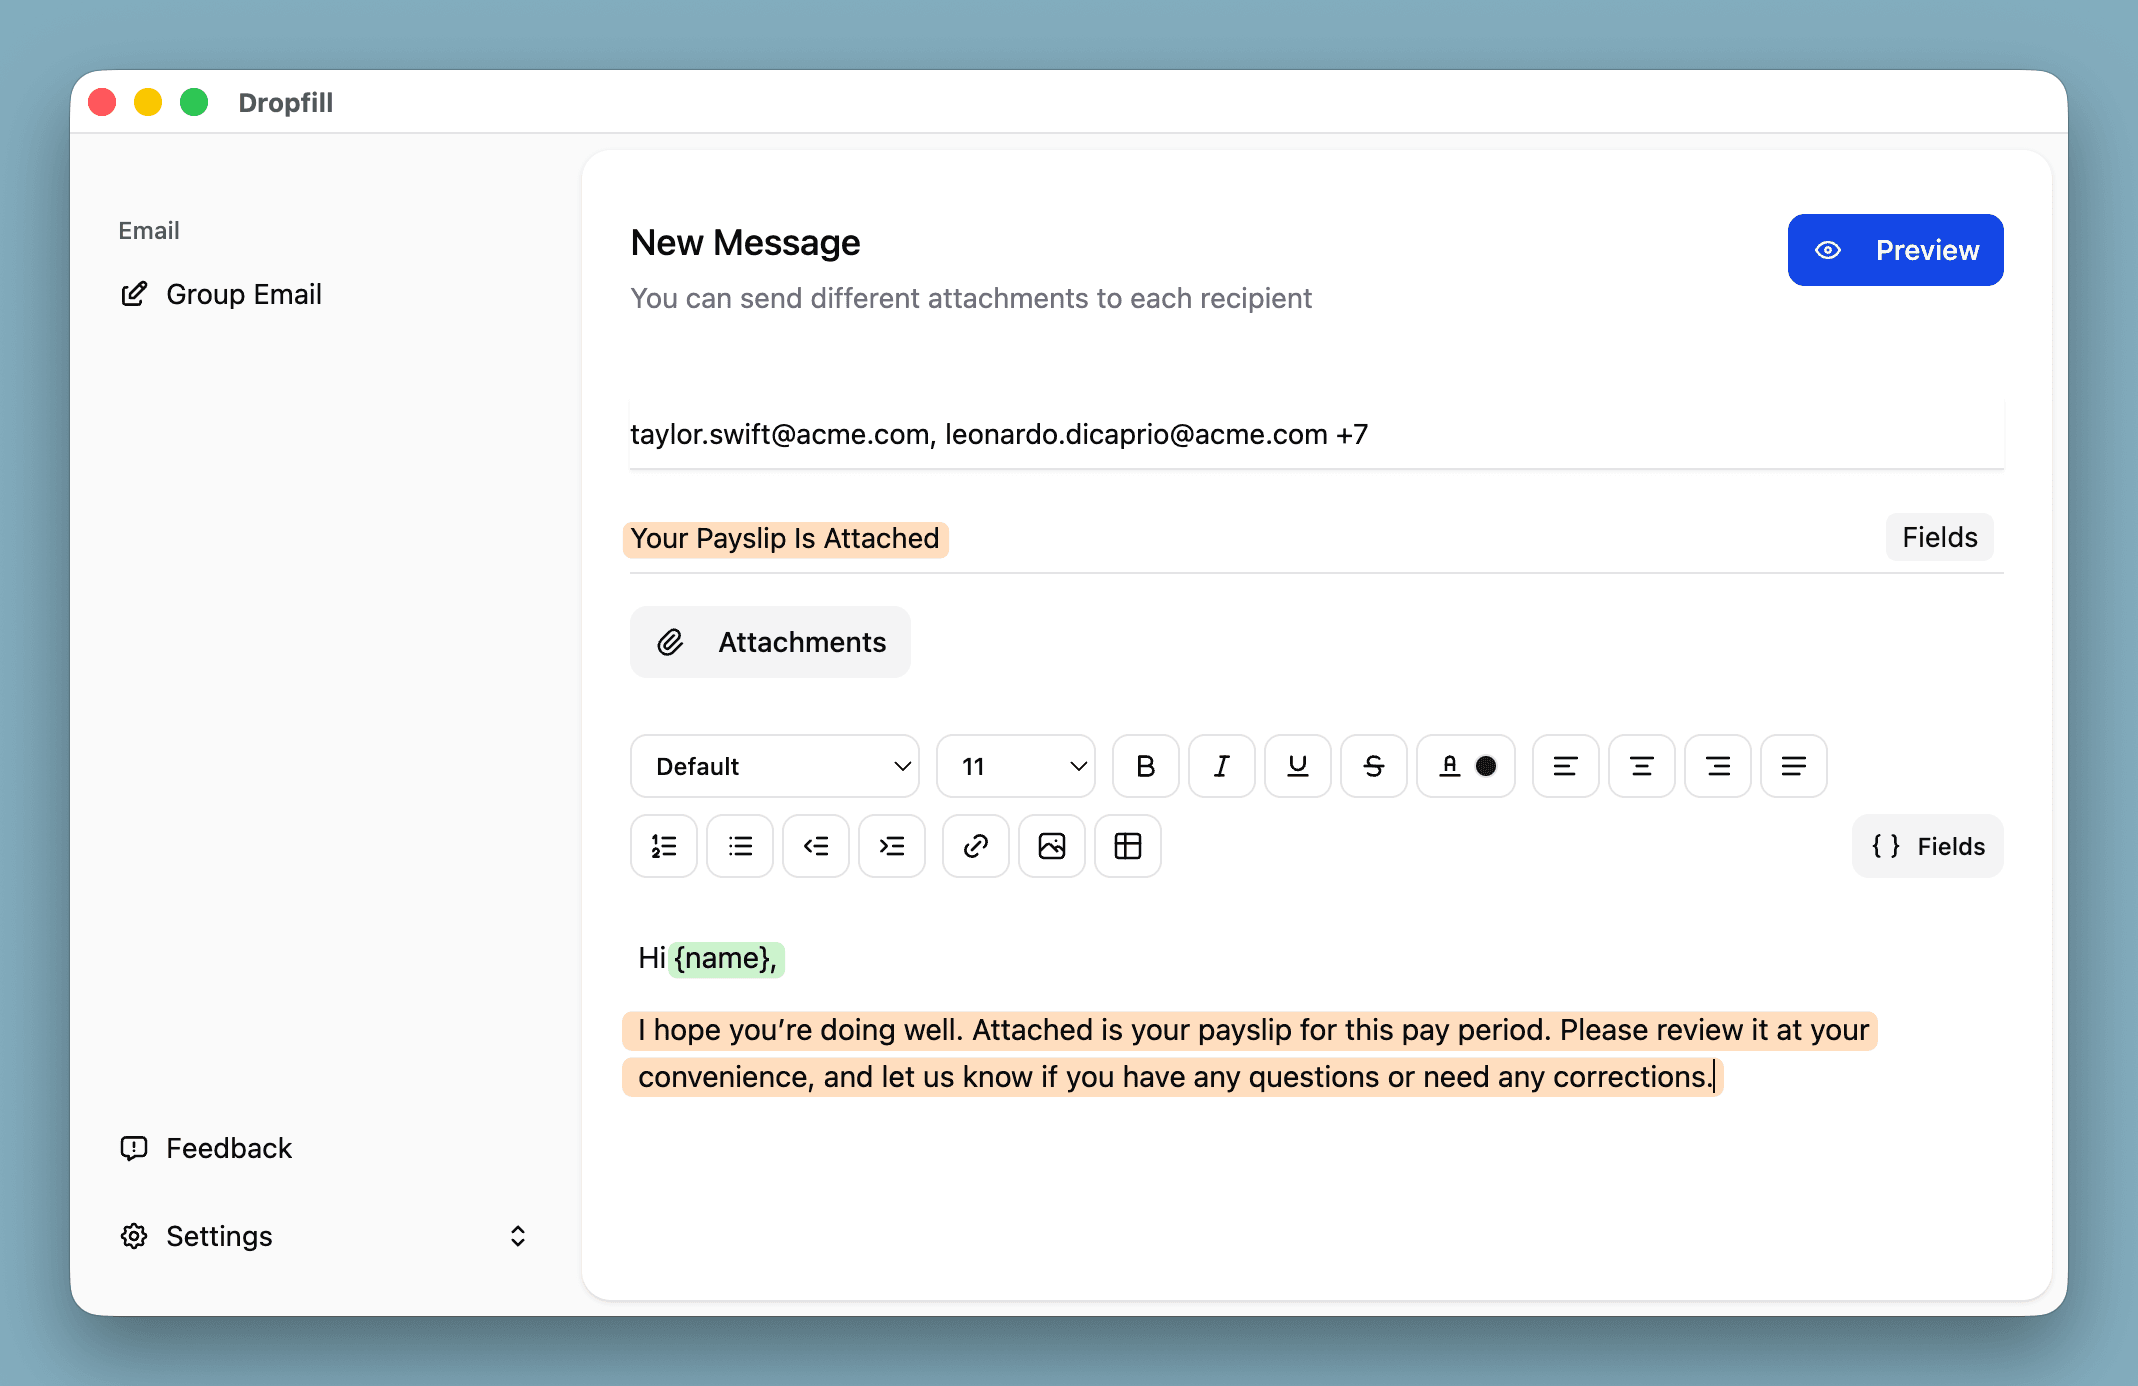
Launch the app. You’ll see a clean, simple process: Recipients, Compose, Attachments, and Preview. It’s designed to be linear so you can’t mess it up.
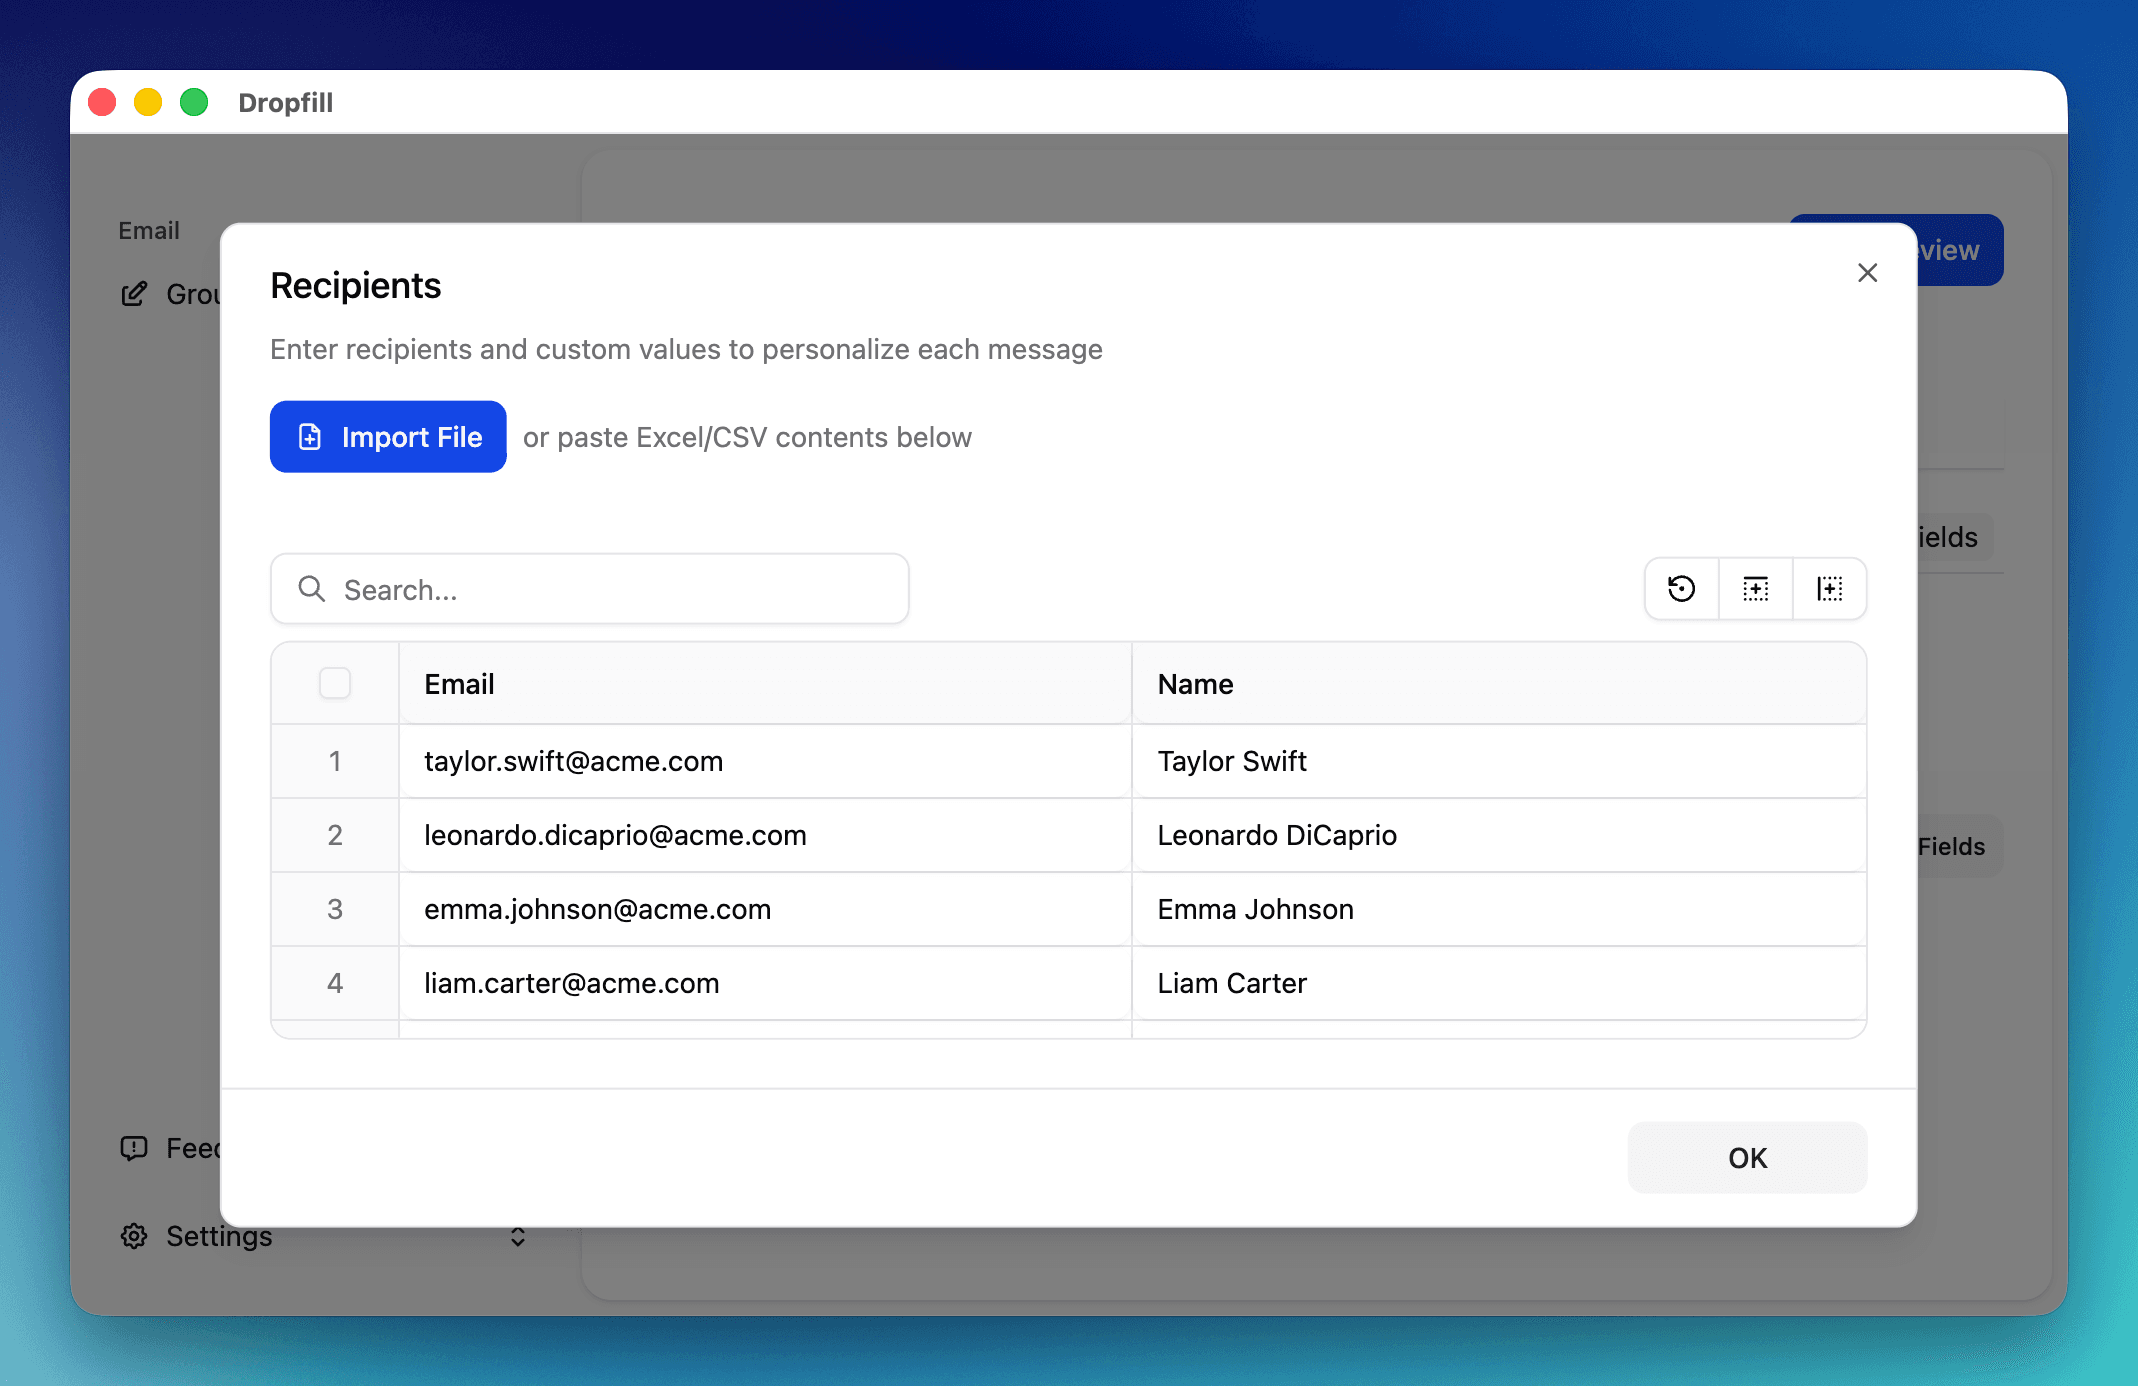
Step 1: Who are we sending to? (Recipients)
Go to the Recipients tab. You probably have an employee list in Excel or CSV. Click Import File and load it up.
You’ll see a table with your data. Make sure Dropfill knows which column is the Email.
Pro Tip: This is great for keeping your contact list clean. You don't need to add everyone to your Outlook contacts; just use the Excel file you already have.
Step 2: Compose Your Email (Compose)
Now, let's write the email. Because we imported that Excel file, we can use any of those columns to make the email feel personal.
Instead of a generic "Hello Employee," you can write:
Hi {Name}, thanks for your hard work in {Department} this month!
Dropfill will swap out {Name} for "Alex" and {Department} for "Sales" automatically.
Step 3: Match Attachments (Attachments)
This is the key step. How do we get Payslip_Alex.pdf to Alex and Payslip_Ben.pdf to Ben without dragging and dropping 50 times?
- Click Add files and select your
January Payslipsfolder. - Look at the Match By setting. This asks: "Which column in your Excel file should I look for in the filenames?"
- Select the Name column.
That's it! Dropfill looks at the first row, sees "Alex", checks your folder for any file containing "Alex", and attaches it. It repeats this for everyone.
Correction: Does it work for Invoices? Yes! If you have an
Invoice Numbercolumn in your CSV and your files are namedInv-1001.pdf, just match by "Invoice Number". Easy.

Step 4: Preview and Verify (Preview)
Before you hit send, you want to be 100% sure. Go to the Preview tab.
Click through a few people in the list. Check that Alex has the Alex PDF. Check that Ben has the Ben PDF. Check that the names in the email body are correct.
Once you’re satisfied, take a deep breath and hit Send.

3. Sending Complete
Dropfill will start sending the emails one by one from your computer. You can watch the progress bar fly by.
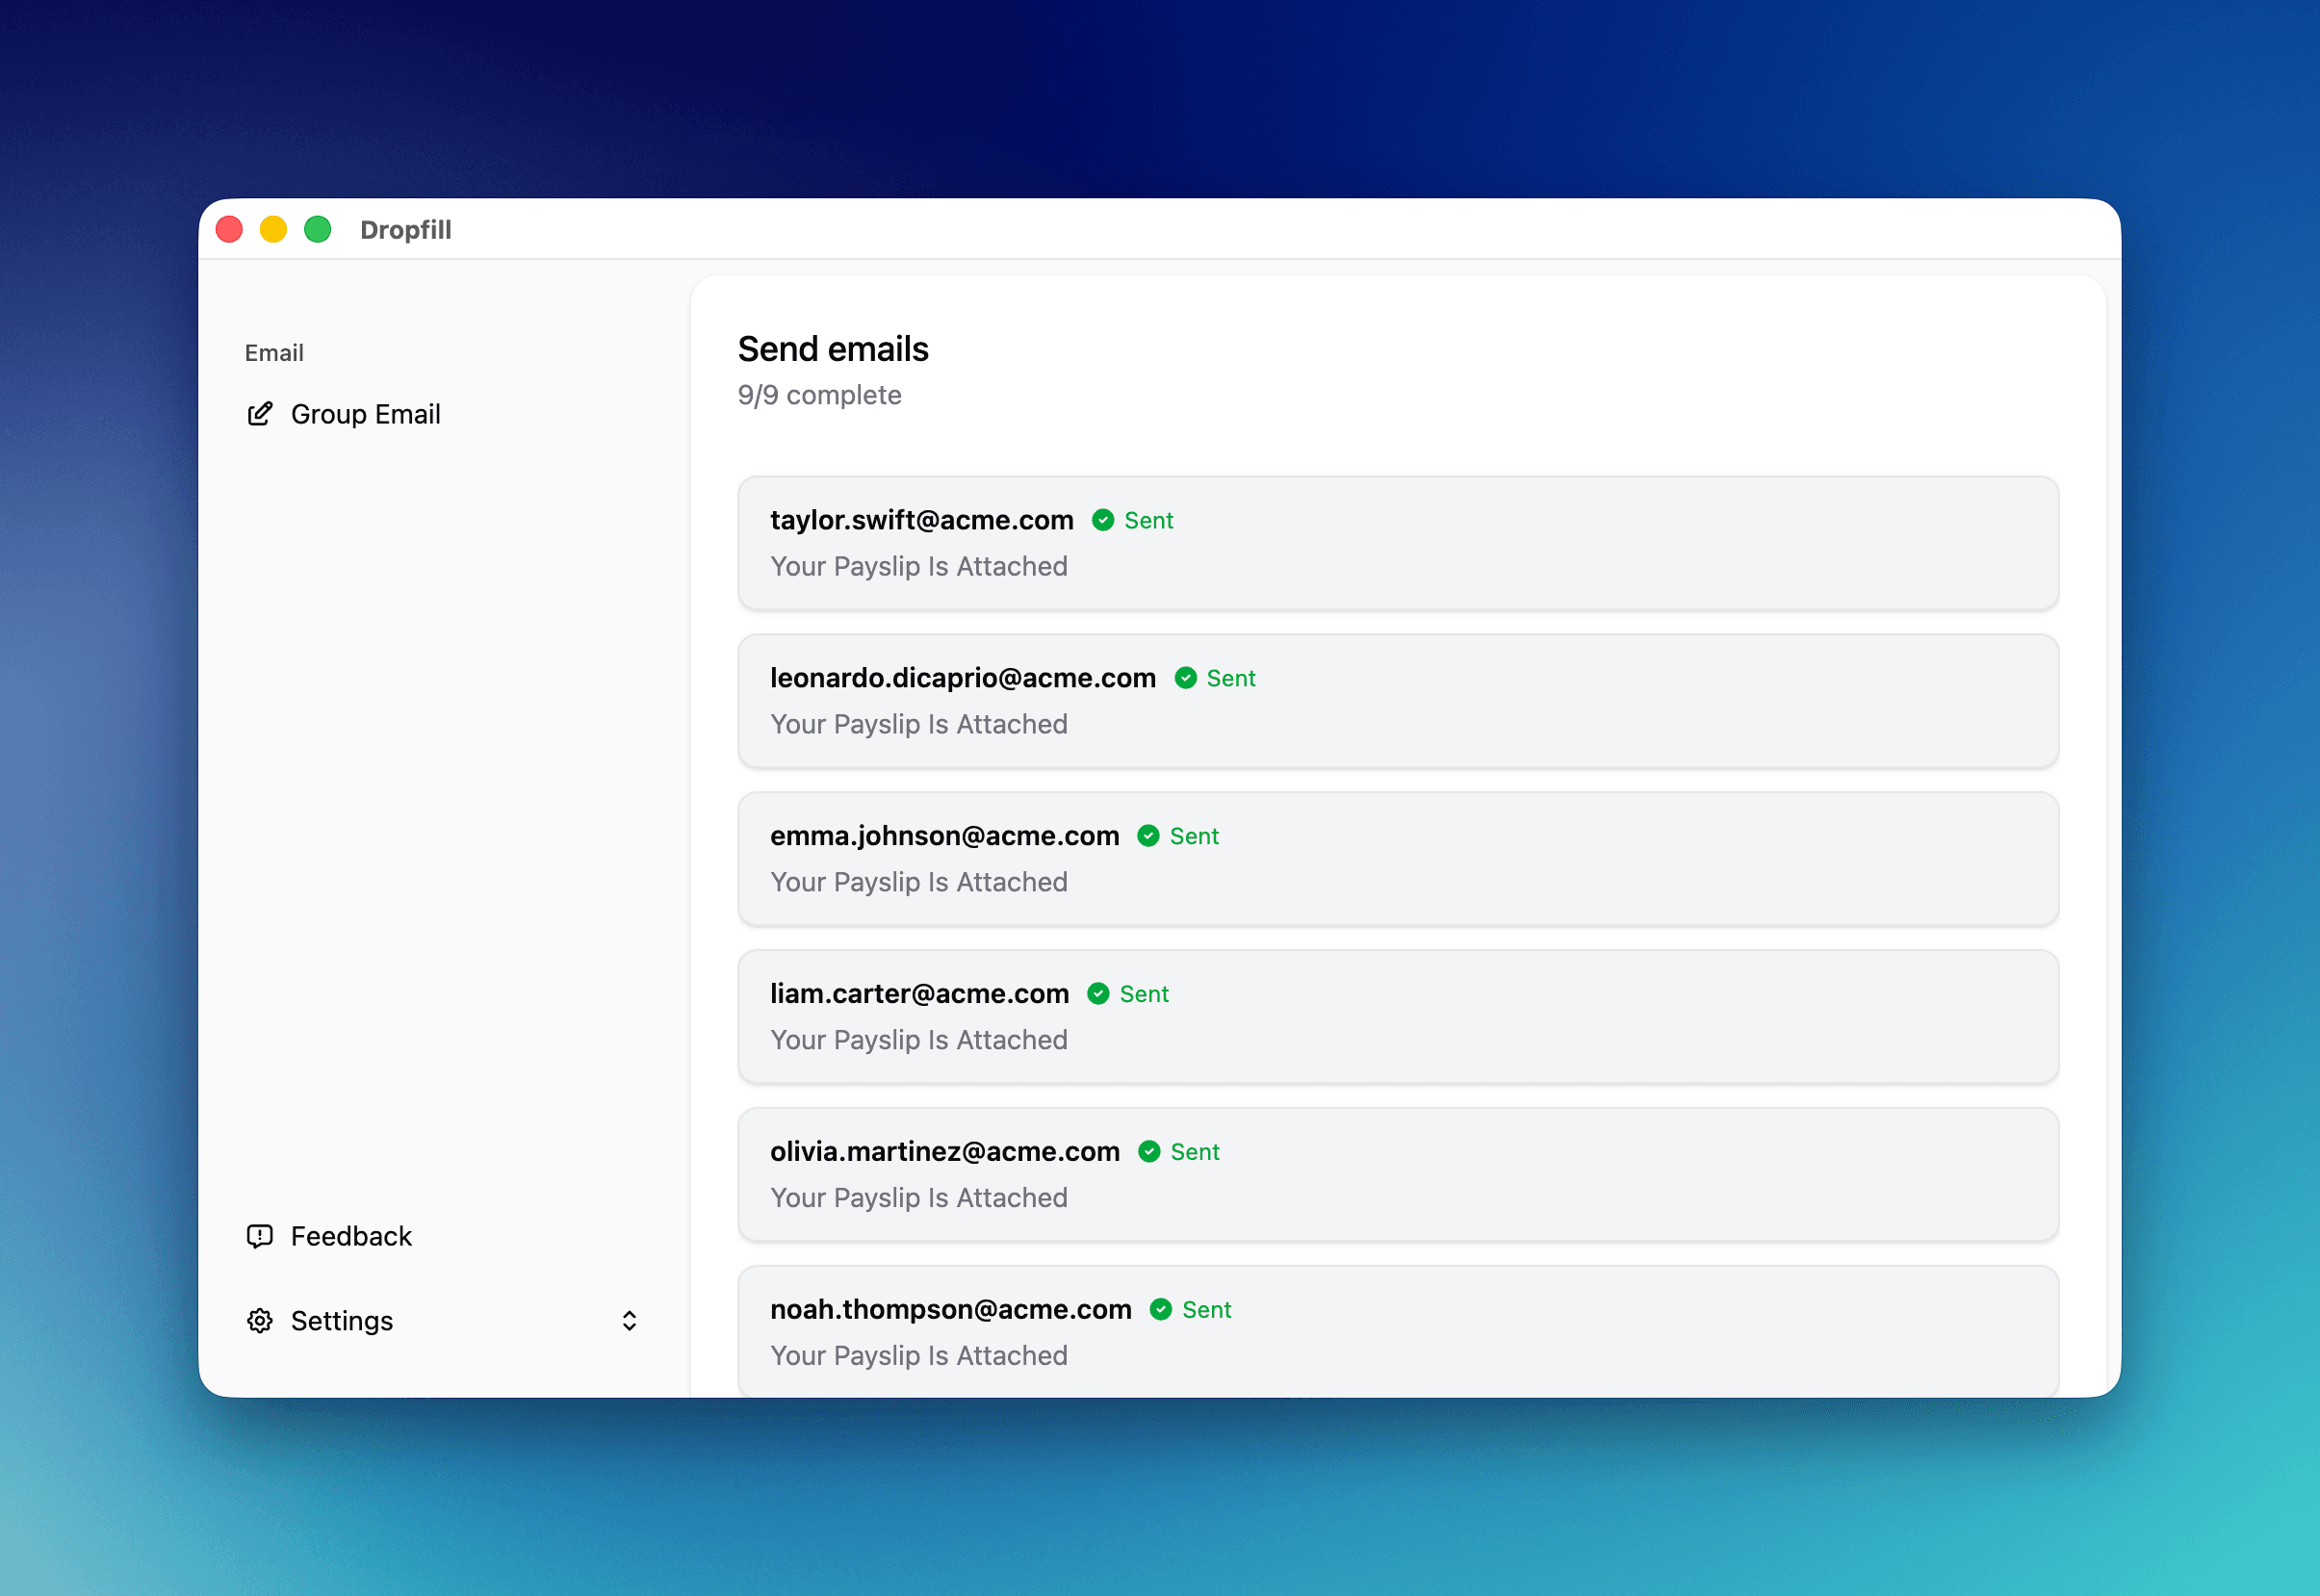
And you're done! What used to take you an hour of boring, repetitive work just took 5 minutes.
Now, go grab a coffee. You’ve earned it. ☕️
Want to try it yourself? Download Dropfill for Mac or Windows and send your first batch today.